
Get Studio-Quality Photos Without Leaving Your Desk – A $5 Solution
Creating a professional photo shoot typically requires hiring a photographer, coordinating schedules, and traveling to multiple locations. But there’s a revolutionary approach using AI that delivers stunning results for less than the price of a morning coffee.
The Professional Photo Dilemma
Speakers, entrepreneurs, and professionals constantly need updated photos for various purposes. The traditional approach of scheduling photo shoots, traveling to locations, and waiting for edited photos is becoming obsolete. AI technology now offers a faster, more cost-effective solution.
The Game-Changing Solution: AI-Generated Professional Photos
The winning combination includes:
- ChatGPT (with a custom GPT called Felix)
- Flux (a downloadable model from Black Forest Labs)
- A trained Lora model (trained on approximately 30 reference images)

Complete Guide: Creating Professional AI-Generated Photos with Flux Lora
Prerequisites
- Access to ChatGPT
- Flux software (available from Black Forest Labs)
- 25-30 high-quality reference photos
- FAL.AI account (or similar provider) for hosting
- Basic understanding of image prompting
Step 1: Setting Up Your Environment
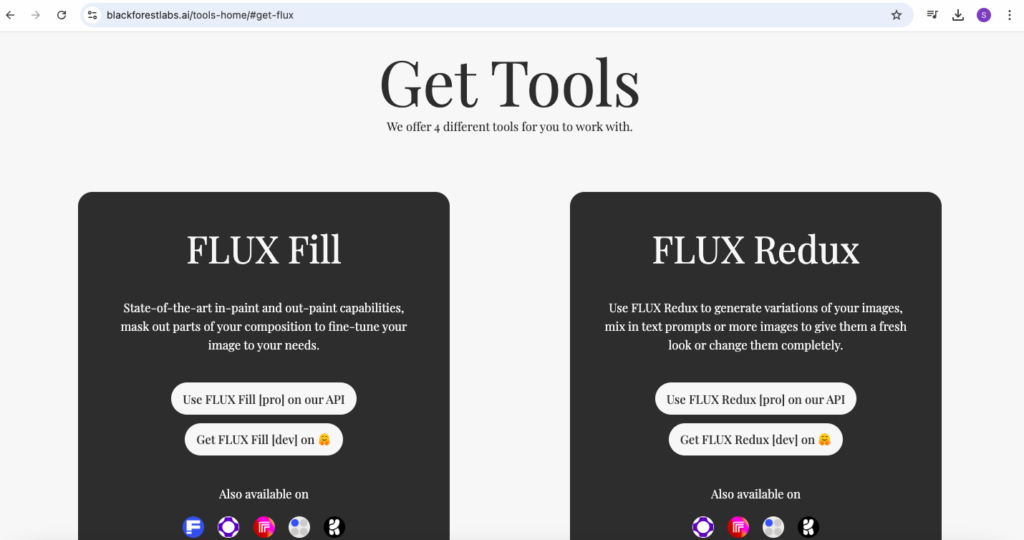
Installing Flux
- Visit Black Forest Labs (blackforest.ai)
- Navigate to the download section
- Choose your preferred provider (FAL.AI recommended)
- Create an account with the chosen provider
- Download and install Flux
Preparing Reference Images
- Collect 25-30 high-quality photos of the subject
- Ensure photos have:
- Different angles
- Various expressions
- Diverse lighting conditions
- Clean backgrounds
- Clear facial features
- Remove any photos with multiple people
- Save all images in a dedicated folder
Step 2: Training Your Lora Model
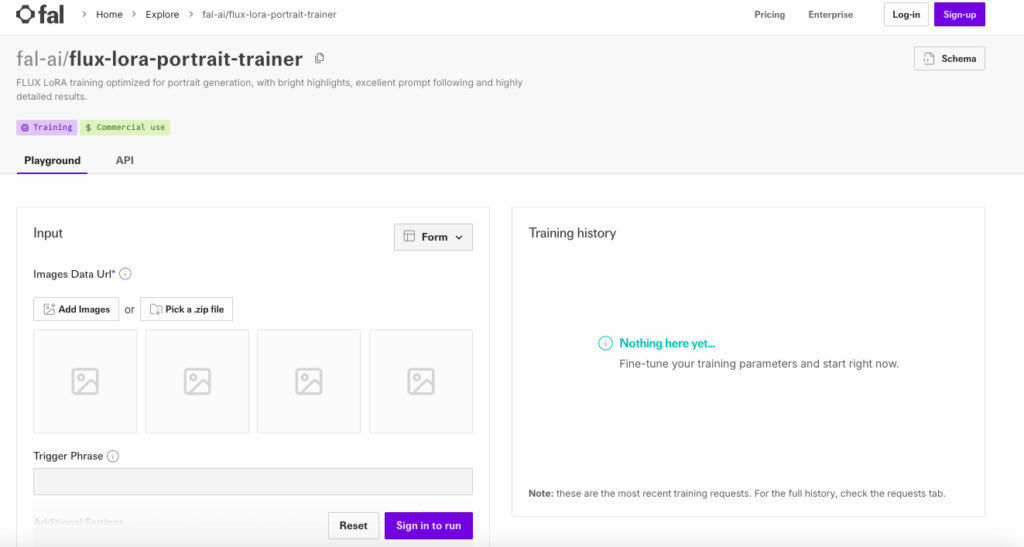
Uploading Images
- Open Flux
- Select “Create New Lora”
- Click “Upload Images”
- Select all prepared reference photos
- Wait for upload completion
Training Configuration
- Set your trigger word (e.g., “PersonName”)
- Choose “Flux Lora Fast Training”
- Configure training parameters:
- Epochs: 1-2 (standard)
- Learning rate: 1e-4 (default)
- Start training process
- Wait for completion (typically 15-30 minutes)

Step 3: Creating Effective Prompts
Using ChatGPT for Prompt Generation
- Create a new chat
- Describe your photo requirements:
- Setting
- Pose
- Lighting
- Clothing
- Background
- Mood
- Ask for multiple prompt variations
- Save successful prompts for future use
Prompt Structure
Copy
[Trigger Word] as a [physical description] [profession/role] in a [setting] wearing [clothing description], [action/pose], [lighting], [mood], [style]
Example:
Copy
PersonName as a confident woman as a tall, athletic scientist in a modern laboratory wearing a white lab coat, standing with her arms crossed, soft overhead lighting, focused mood, minimalist style.
This gives a clear picture of the subject, setting, and tone.
Step 4: Generating Images
Basic Generation
- Open Flux
- Select your trained Lora model
- Click “Run Inference”
- Enter your prompt
- Set basic parameters:
- Image size: 512×512 or 768×768
- Number of images: 4 recommended
- Guidance scale: 8-10 (start here)
Advanced Settings
- Adjust guidance scale:
- Lower (2-7): More creative, less accurate
- Medium (8-10): Balanced results
- Higher (11-16): More precise, less natural
- Configure additional parameters:
- Seed: For reproducible results
- Sampling steps: 20-30 recommended
- Sampling method: Euler a (standard)
Step 5: Refining Results
Image Selection Process
- Generate initial batch (4 images)
- Evaluate each image for:
- Likeness accuracy
- Professional appearance
- Natural poses
- Lighting quality
- Save promising images
- Note successful prompt elements
Iterative Improvement
- Identify issues in generated images
- Make single prompt adjustments:
- Add physical descriptors
- Modify lighting terms
- Adjust clothing details
- Refine background elements
- Generate new batch
- Compare results
- Repeat process until satisfied
Step 6: Optimizing Costs
Cost Management Strategies
- Start with smaller batches (2-4 images)
- Use successful prompts multiple times
- Track spending per session
- Save effective prompts for future use
- Aim for 15-20 cents per batch of 4 images
Common Issues and Solutions
Problem: Inconsistent Likeness
- Add more specific physical descriptors
- Adjust guidance scale higher
- Include more detailed facial features in prompt
Problem: Unnatural Poses
- Simplify pose descriptions
- Remove complex actions
- Focus on basic professional poses
Problem: Poor Lighting
- Specify lighting direction
- Add time of day
- Include natural light sources
Problem: Unrealistic Backgrounds
- Use simple location descriptions
- Avoid complex scene elements
- Focus on common professional settings
Best Practices
For Optimal Results
- Keep detailed notes of successful prompts
- Create prompt templates
- Generate in batches of 4
- Make incremental changes
- Save all usable images
- Document successful parameter combinations
Time Management
- Set aside 30-60 minutes per session
- Plan for multiple iterations
- Prepare prompts in advance
- Organize saved images immediately
- Label successful prompts for future use
Final Tips
- Quality Over Quantity
- Focus on getting a few perfect images rather than many mediocre ones
- Take time to refine prompts
- Save only the best results
- Systematic Approach
- Document your process
- Track successful combinations
- Build a library of effective prompts
- Professional Usage
- Check image rights and usage policies
- Consider watermarking for protection
- Maintain backup copies of all files
Remember: AI-generated photos improve with practice and patience. Don’t expect perfect results immediately, but with systematic refinement, professional-quality images are achievable.
Recommended Workflow Checklist
- Prepare reference images
- Train Lora model
- Create prompt templates
- Generate test batches
- Refine prompts
- Save successful results
- Document effective combinations
- Organize final images
- Back up all files
Following this guide should help create professional AI-generated photos efficiently and cost-effectively. Remember to regularly update your training data and prompts as the technology evolves.